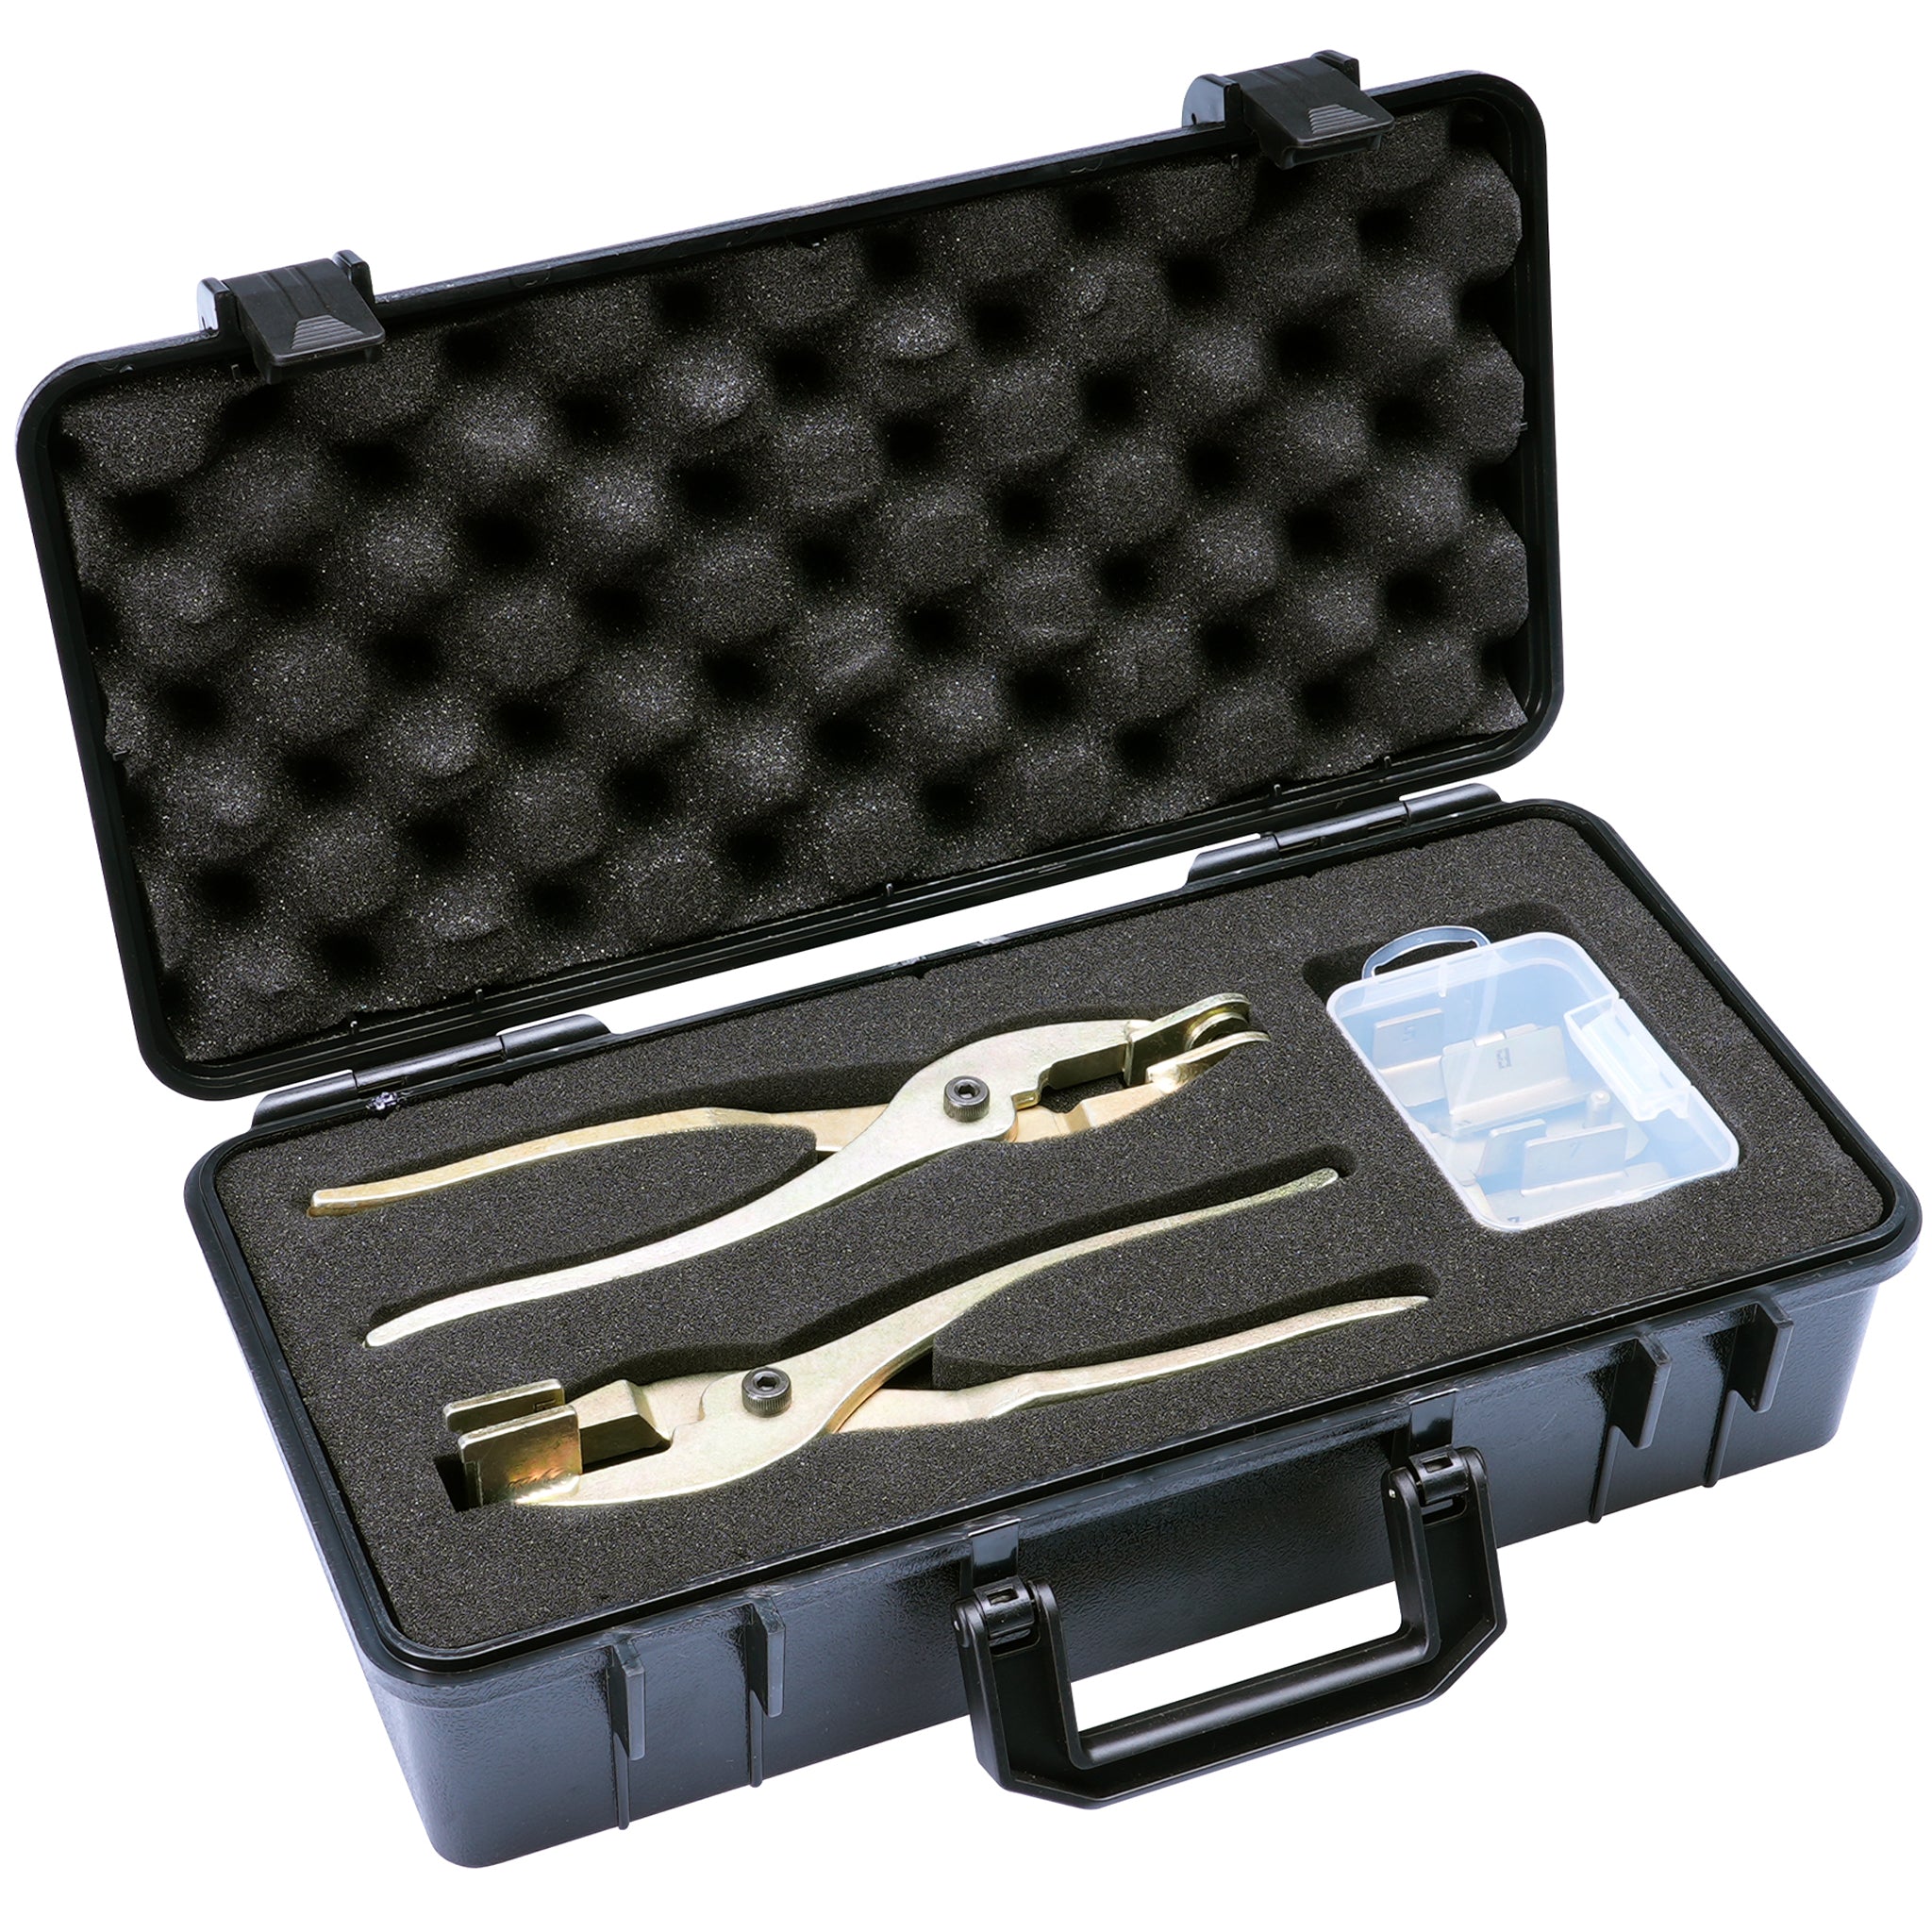
Tab Saver Kit
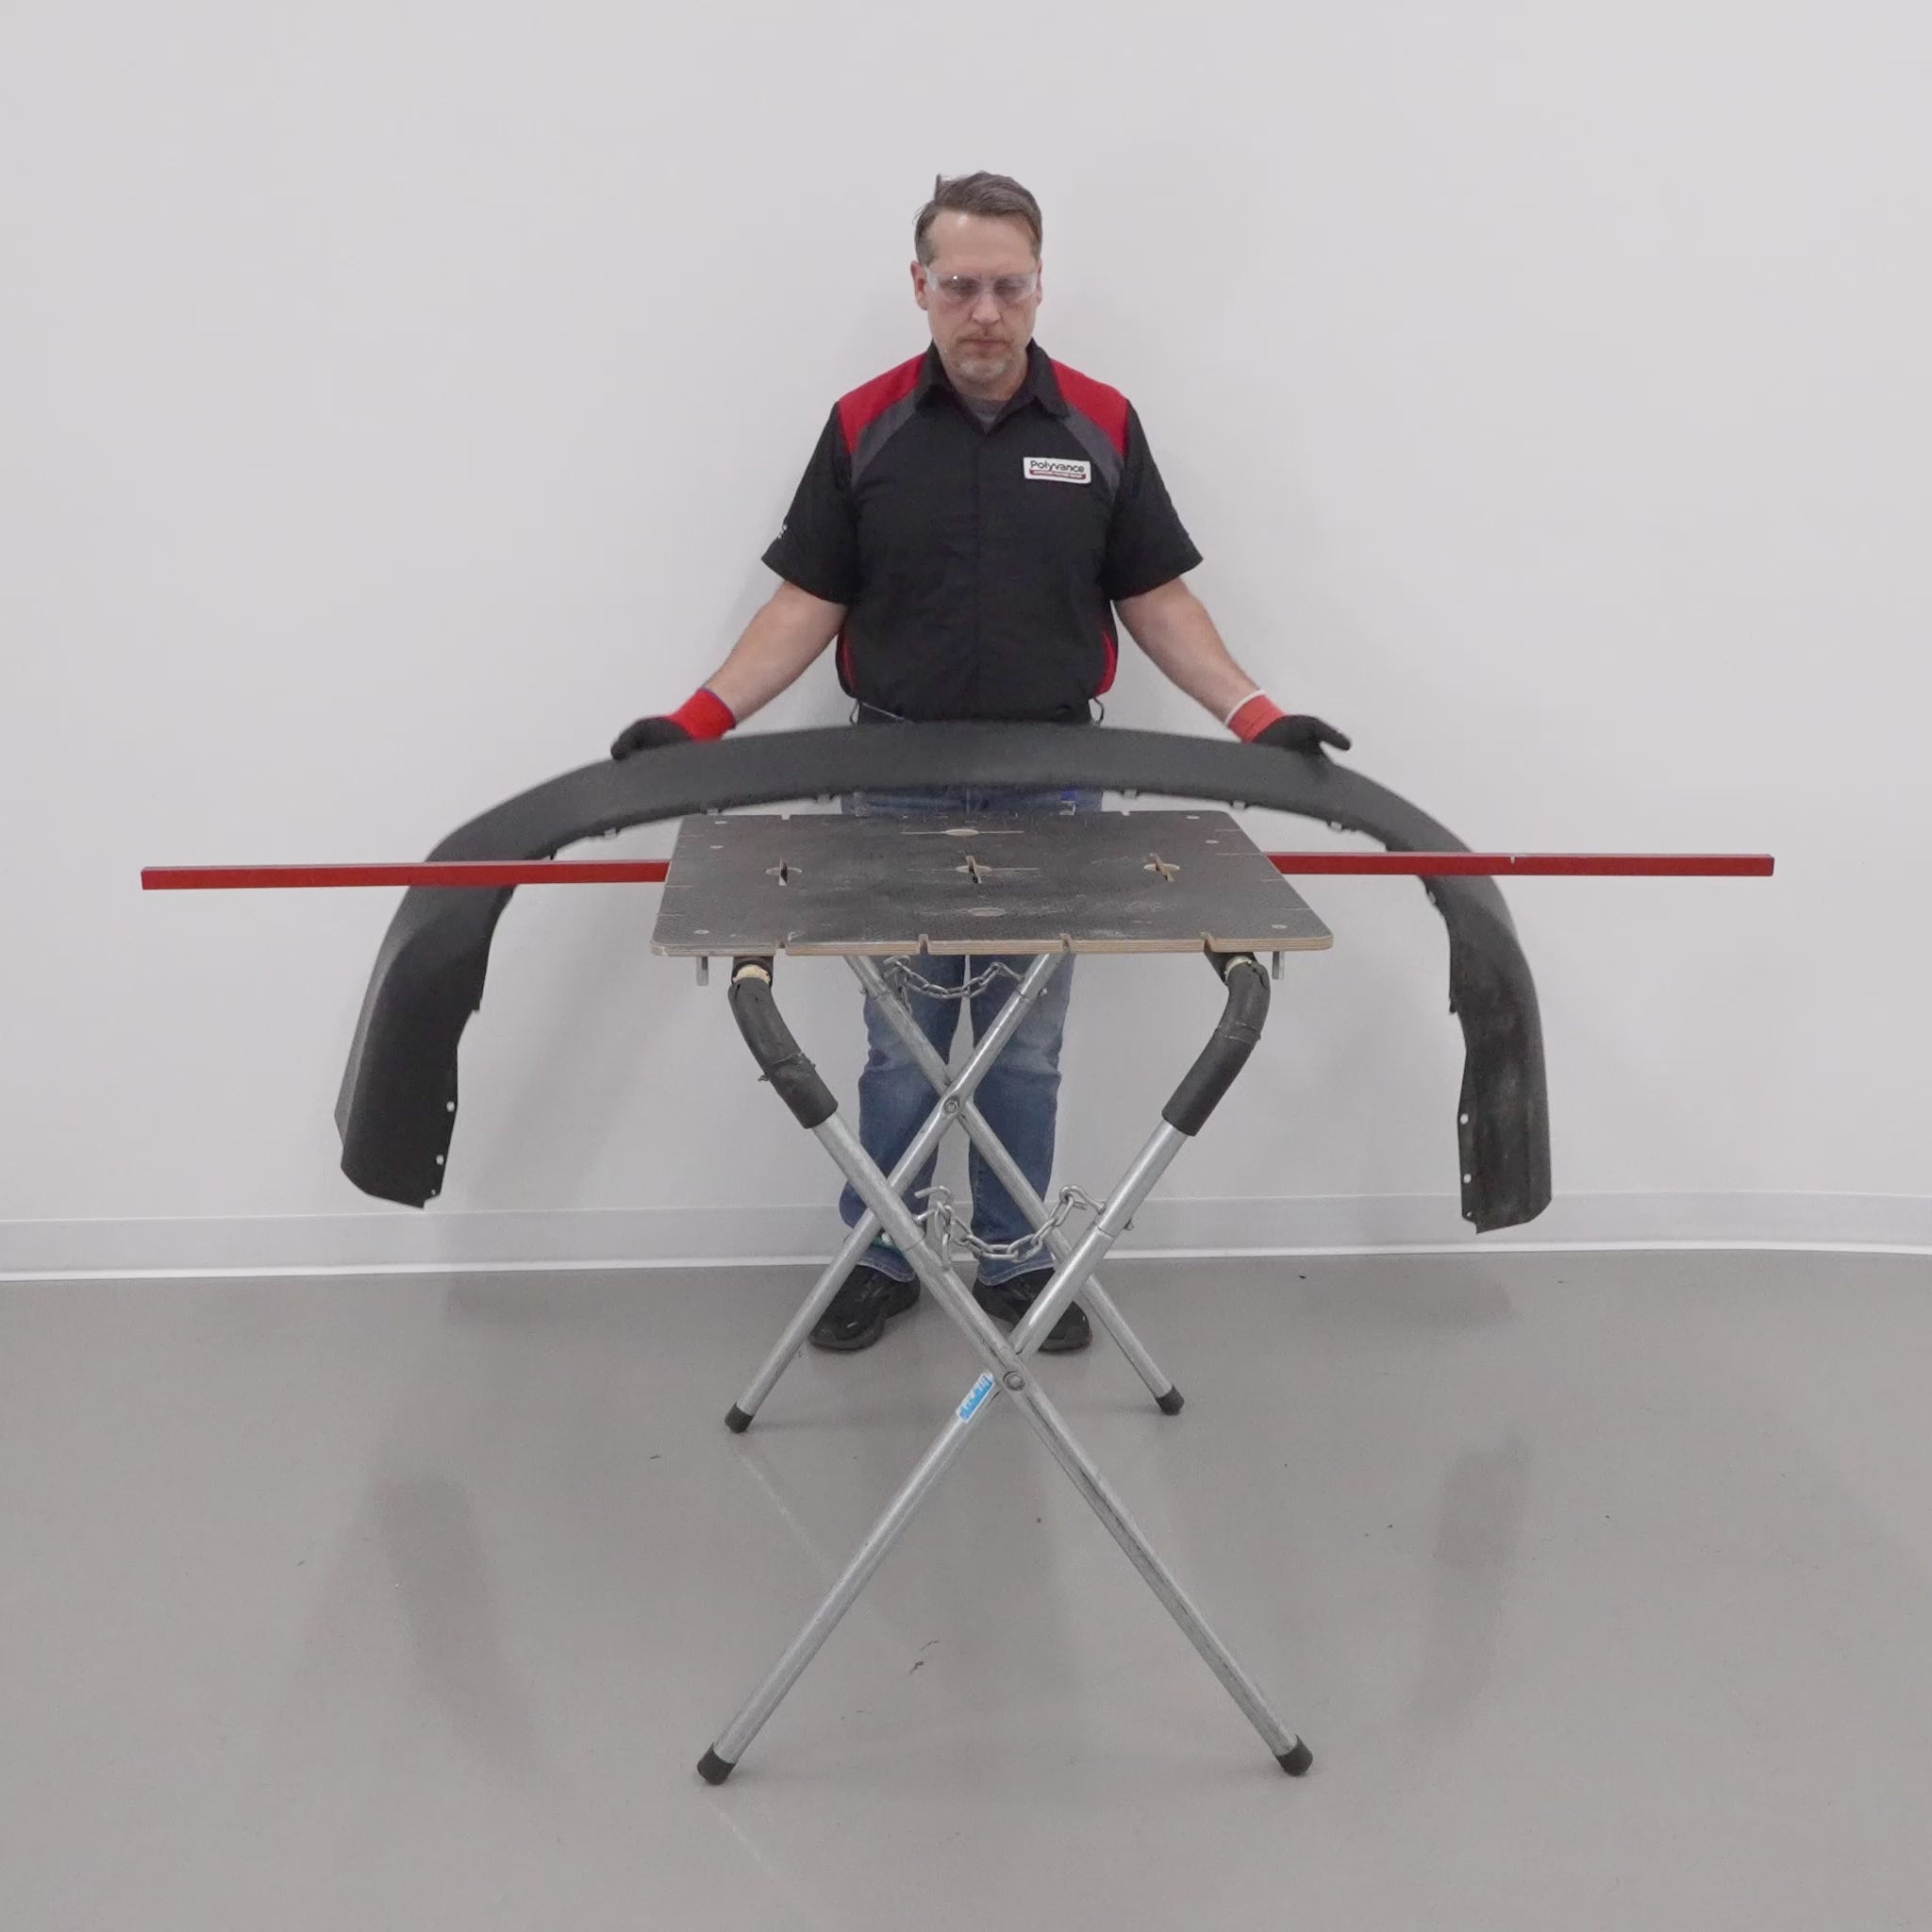
The Tab Saver Kit makes it quick and easy for technicians to repair rectangular slot tabs and recessed holes found on bumper covers, headlights, fender liners, and more. These tabs are weak and often break in light collisions or when removing the parts from vehicles. Tab Savers make fixing these problem areas simple.
Without the aid of the Tab Saver Kit, repairing slot tabs with a nitrogen plastic welder is difficult, time-consuming and requires skill and finesse. Additionally, technicians often have difficulty restoring the correct dimensions of the slot, which is critical for proper panel installation. With the Tab Saver Kit, precision tab repair is made easy.
Why Choose the Tab Saver?
-
Repairs Torn Slots & Recessed Holes: Quickly restores damaged slot tabs and fastener holes in bumper covers, fender liners, headlights, and more
-
Boosts Shop Efficiency: Speeds up challenging repairs, helping increase workflow and overall profitability
-
Eight Precision Slot-Forming Dies: Designed to fit virtually all common slot tab widths for versatile repair applications
-
Confident, Strong Repairs: Slot tab dies create a stable backing surface, making it easy to bridge gaps and restore original shape
-
Recessed Hole Repair Made Easy: Dedicated pin die and matching pliers simplify the repair of recessed and flush holes used for push-type retainer clips
-
Precision Slot Placement: Special die designs ensure accurate edge alignment for secure clip retention
-
Reduces Tapering: Custom die plier jaws minimize tapering when forming the melted plastic for cleaner, more professional repairs
-
Made in the USA: Designed and manufactured in the United States for quality and reliability
How to Use
-
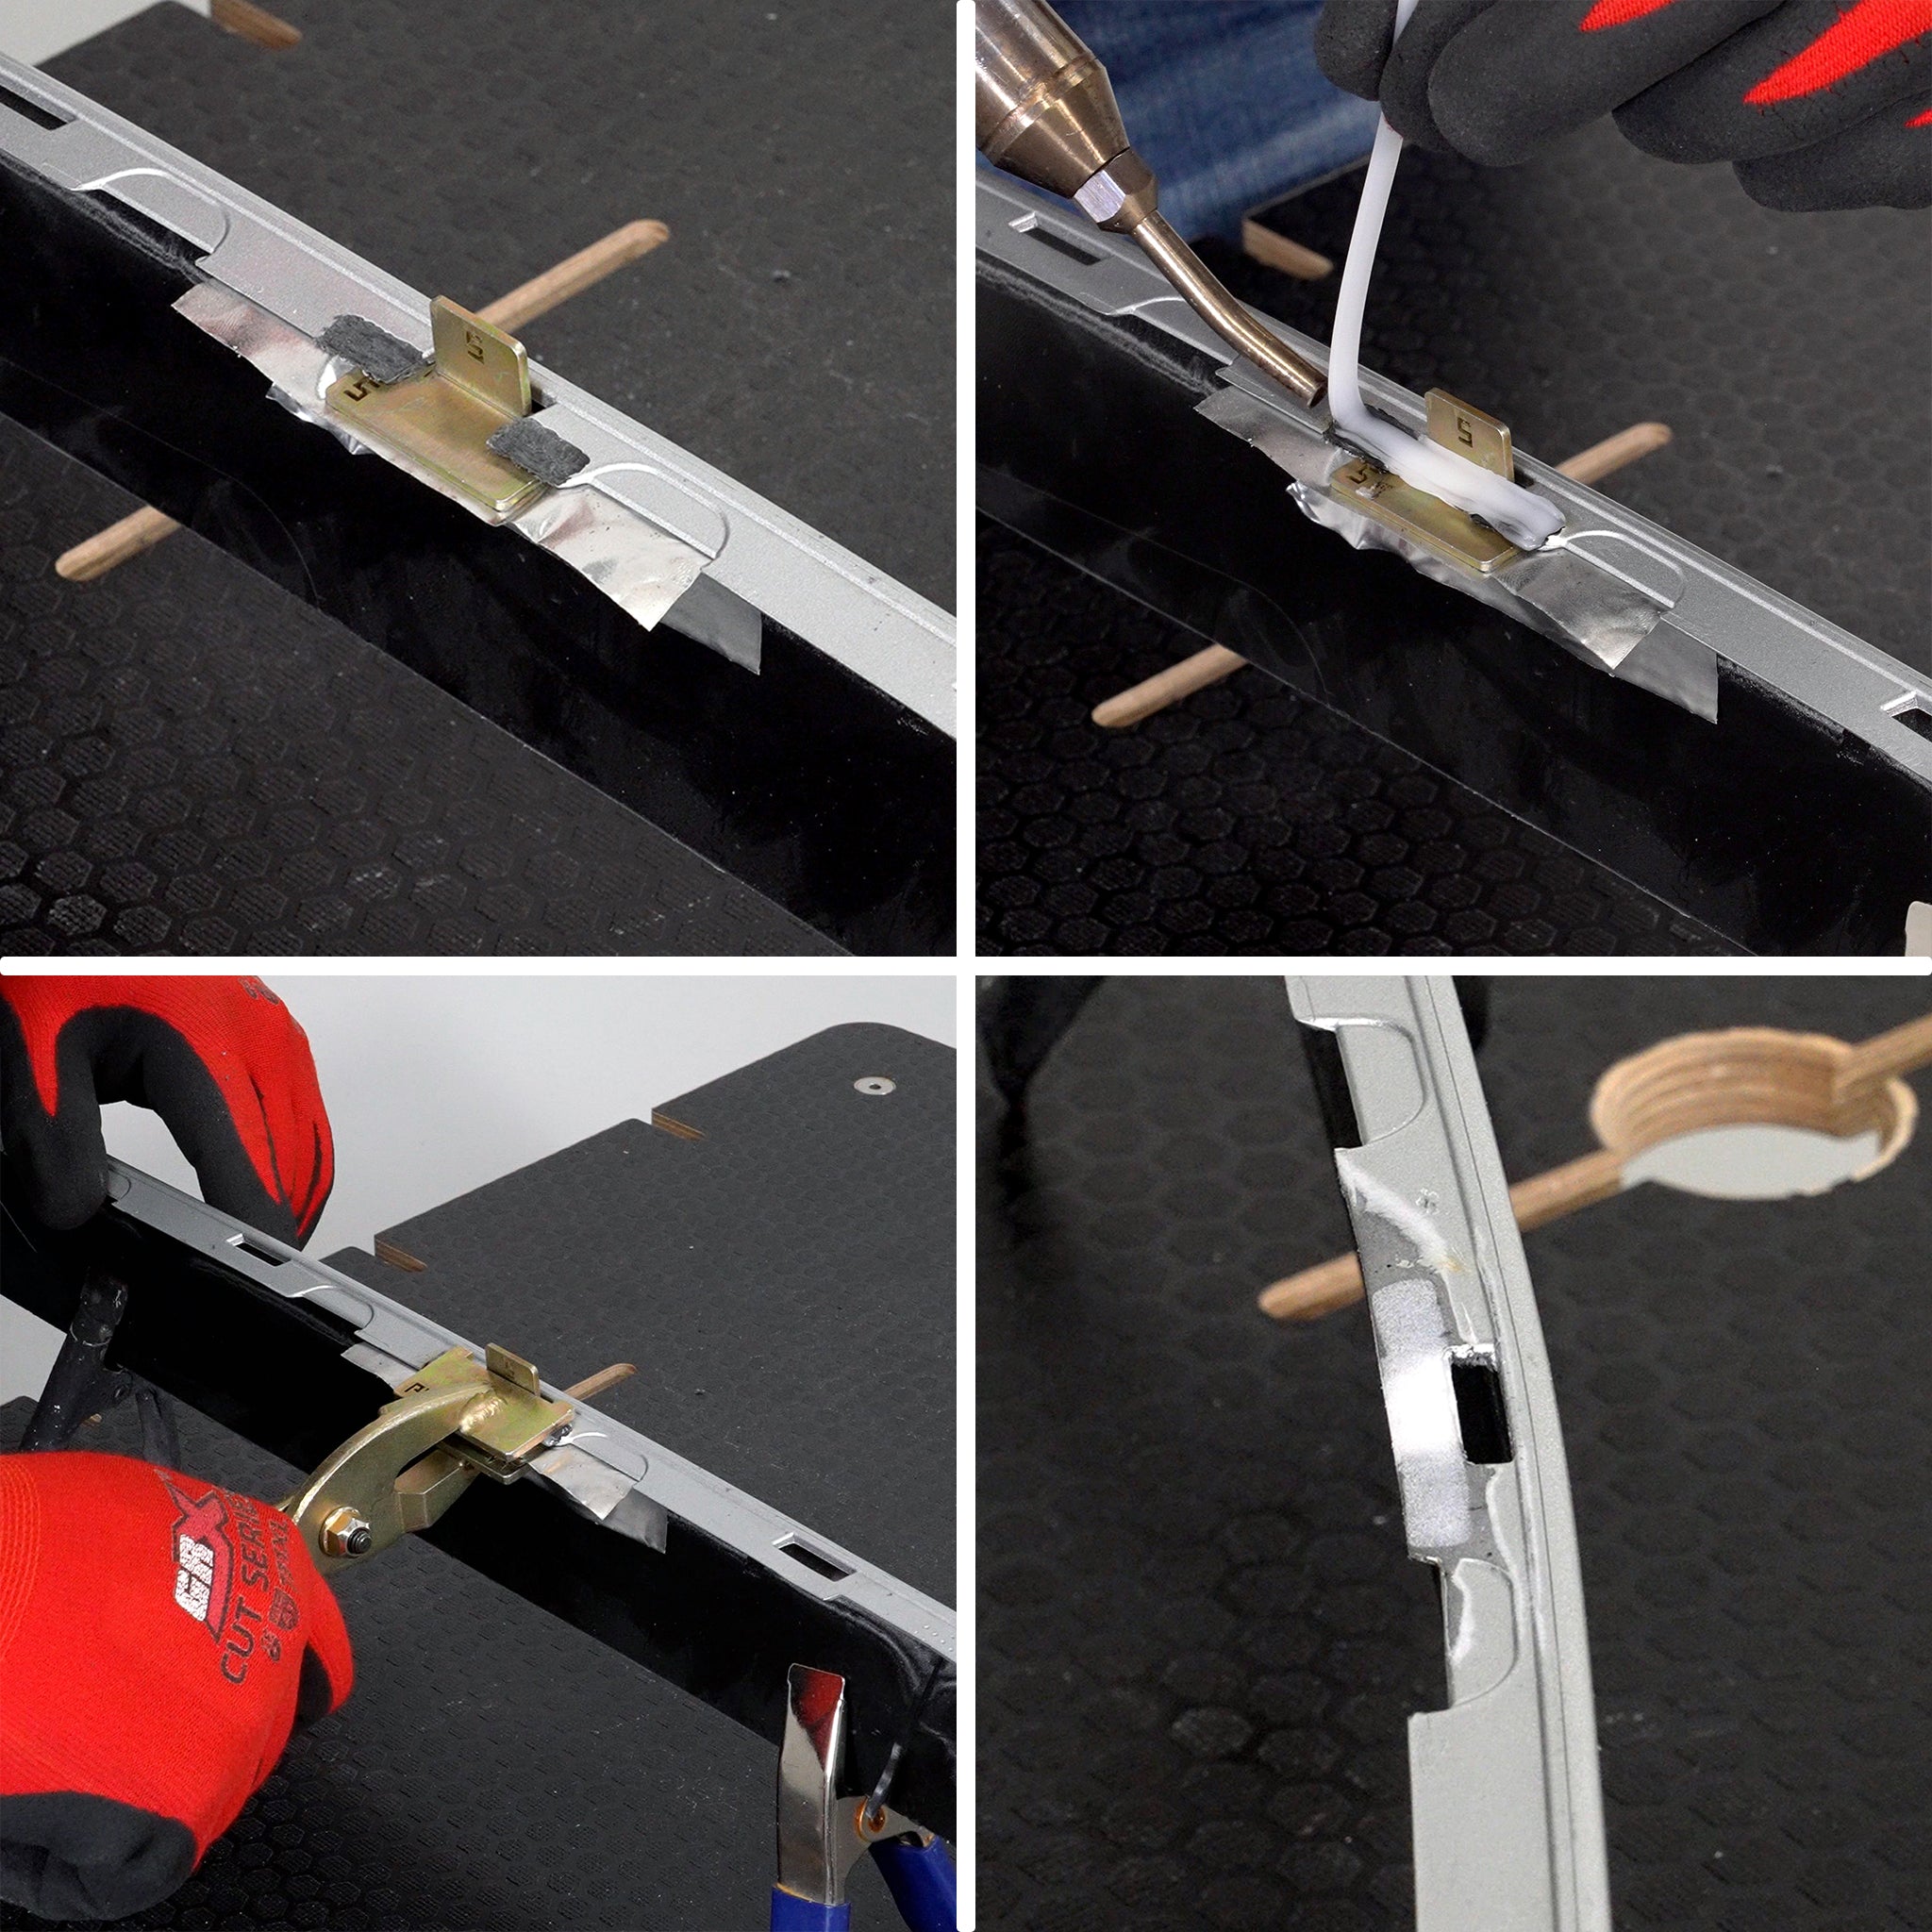
Find matching die: Find the forming die that best matches the width of the broken slot tab. Prepare the plastic for welding by cleaning with Polyvance Super Prep or EcoPrep. Taper the front sides of the slot with a grinder or sander.
-
Tape forming die into position: Insert the selected forming die into the damaged slot and line up the inward edges of the tab and slot. Tape into position with a piece of 6485 aluminum tape.
-
Weld: Use your preferred plastic welding rod (It’s usually wise to choose the thinnest and narrowest rod) and weld from one side to the other in a continuous pass, welding the plastic welding rod into the bumper on both sides. Make a second or third pass as needed to match the substrate thickness or slightly more.
-
Reheat: After welding, immediately reheat the welding rod with the nitrogen welder until the plastic is translucent.
-
Flatten with pliers: Immediately squeeze the melted plastic with the forming pliers. Apply gentle pressure and hold for about 10 seconds to cool plastic. The technique is the same for round hole repairs, except the die pin is centered in the hole. When squeezing the pliers over the die, select the dimple die side of the pliers if the repair requires a recessed area for the push-in retainer or the smooth side if a smooth top is required.
-
Remove die, shape as needed: Allow the weld to cool completely, then remove aluminum tape and push the die out of the hole. Shape the repaired area as needed with the airless plastic welder, utility knife, grinder, and/or sander until desired dimensions are restored.
What's Included?
Qty: 1 | Storage case
Qty: 1 | Forming die pliers
Qty: 1 | Pin die pliers with smooth and recessed sides
Qty: 8 | Numbered slot forming dies
Qty: 1 | 1/4" pin die